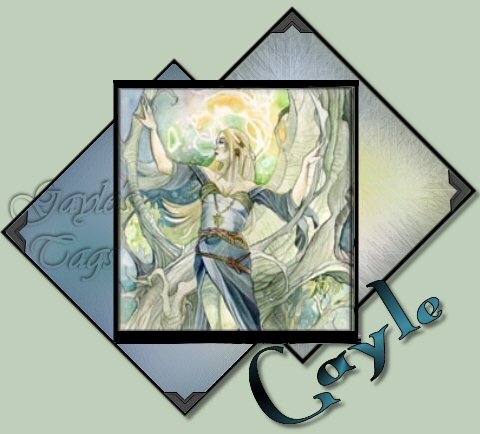
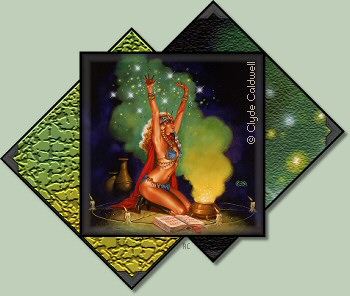
 Although simple, this is for the intermediate/advanced PSP user as I have no screen shots. But I also found out that trying is the best way to learn. *S* This tutorial was written by me and is ©momentzdesignz Any other tutorial that looks similar is purely coincidental and no infringement of any other artist is intended. For this tutorial you will need the following: PSP - V8 Photo Corner - download Image of choice
1 - Open the image you wish to use and set it aside for now
2 - Open a new image - 500 x 500 transparent - [we will resize later] 3 - Foreground set to black 4 - Background set to null 5 - Presets Shapes Tool > set to rectangle > 3 px 6 - Draw a rectangle in the center of your canvas approx. 250 x 250 7 - Duplicate this layer twice NOTE: Since these are all on a separate layer, you can make them a color from your image and add an inner bevel if you wish. I left mine plain. :) 8 - Move the rectangles around to a position that you like 9 - you can use: Image > Rotate > Free Rotate .. to any angle you prefer 10 - Close off the 2 top layers on your Layer Palette 11 - Select a part of your image that you want for the main center image 12 - Edit > Copy 13 - Go to Layer 1 - Select with your magic wand the center of the square 14 - Selections > Modify > Expand 1 15 - Right click on the top of this image and Paste Into Selection 16 - Keep selected 17 - Effects > 3D Effects > Buttonize Settings: H & W 14, opacity 75, with transparent checked 18 - Selections > Select none 19 - Close off Layer 1 and open Layer 2 20 - Choose a different part of your image and follow the steps for inserting it into the rectangle as we did for layer 1. NOTE: This layer you will want to use a texture plug-in or anything you wish to make your main image stand out. 21 - Close layer 2 and open Layer 3 and continue with this same procedure. 22 - At this point, if your main image is on the bottom: Go to: Highlight Layer 1 23 - Layers > Arrange > Bring to the Top NOTE: At this point, we are basically finished with the main tag and before you Merge all Layers .. make sure they are all where you want them. If not, then move them around now. 24: Layers > Merge > Merge Visible 25 - Effects > 3D Effects > Drop Shadow Settings: V & H 4, opacity 50, blur 5.00, color - black 26 - Adding the corners: I have added small corners to my image to give it a bit of character in the plain areas. I re-sized the corner tube to about 30 .. very small :) If they don't quite fit as a corner should, I used the Deformation Tool and pushed them around until they were in the right area. This is very easy to do and quite effective :) 27 - Adding your name or whatever else you wish: Choose the color, size and font you wish. I created mine as a vector layer as it is easily moved around and put into place where you think it looks best. There are really no set rules on this :) I usually add a drop shadow on my text with the following: 28 - Effects > 3D Effects > Drop Shadow Settings: V 2, H 0, opacity 44 and blur 2, color - black 29 - Layers > Merge all Flatten > 30 - Resize, add your watermark and save as a .jpg If you have any questions, please feel free to email me. ©momentzdesignz 1999  Back to Tutorials |