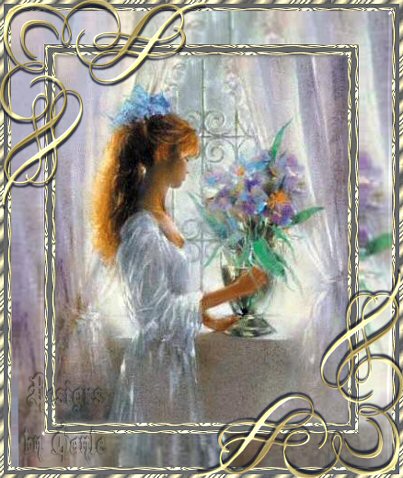
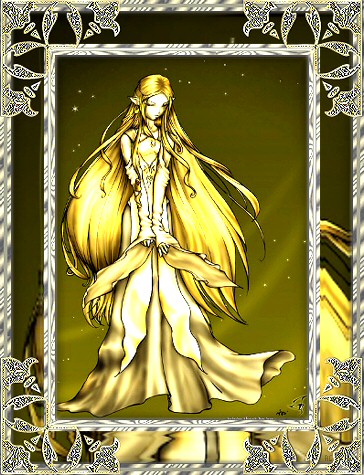
 This tutorial was written in V8 Although simple, this is for the intermediate/advanced PSP user as I have no screen shots on this frame. But I also found out that trying is the best way to learn. *S* This tutorial was written by me and is ©momentzdesignz Any other tutorial that looks similar is purely coincidental and no infringement of any other artist is intended. For this tutorial you will need the following: PSP 8 Eye Candy 3 Gold foil pattern  An image of your choice.
1 - Open your image and duplicate twice
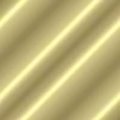
2 - Minimize 1 copy for now **We will be using this one for our glass pattern 3 - Foreground - Light colour from your image 4 - Background - open your Gold Foil pattern 5 - Image > Add white border - 4 px 6 - Highlight with magic wand 7 - Flood fill with background pattern 8 - Selections > invert 9 - Effects > 3D effects > Inner Bevel bevel #2, width 20, smoothness 0, depth 12, ambience -35, shininess 0, color: white angle 315, intensity 45, elevation 90 10 - Effects > 3D effects > Cutout V & H 2, Opacity 70, Blur 5, shadow color #808080 11 - Repeat cutout only change the V & H to -2 12 - Selections > Select none 13 - Image > Add white border - 4 px 14 - Highlight with magic wand 15 - Flood fill with foreground colour 16 - Selections > Select None 17 - Image > Add white border - 4 px 18 - Highlight with magic wand 19 - Flood fill with background pattern 20 - Selections > invert 21 - Effects > 3D effects > Inner Bevel bevel #2, width 20, smoothness 0, depth 12, ambience -35,shininess 0, color: white angle 315, intensity 45, elevation 90 22 - Selections > Select none 23 - Selections > Select All 24 - Selections > Modify > Contract by 12 25 - Selections > Invert 26 - Effects > Artistic Effects > Chrome Settings: Flaws 8, brightness 99, use original colour - checked 27 - Selections > Select none 28 - Image > Add border - 36 px 29 - Foreground pattern - look for the 2nd image you minimized and put this in the pattern box 30 - Using your magic wand, highlight the border and flood fill with this pattern 31 - Keep Selected 32 - Effects > Plugins > Eye Candy 3 > Glass Settings: bevel width 8, bevel shape - rounded, flaw spacing 124, flaw thickness 67, opacity 22, refraction 14, color - white, highlight brightness 46, highlight sharpness 23, direction 35, inclination 39 33 - Selections > Select none 34 - Repeat steps 5 through 22 for the 3 small 4 px borders. * NOTE: you can omit lines 10 and 11, unless you feel you need to use the cutout. 35 - Selections > Select none 36 - Add your watermark and 37 - Merge all layers 38 - Save as a .jpg Note: Since the frame is plenty wide, you can add decorative corners if you wish. If you have any questions, please feel free to email me. ©momentzdesignz 1999 Below is her beautiful result.  Back to Tutorials |