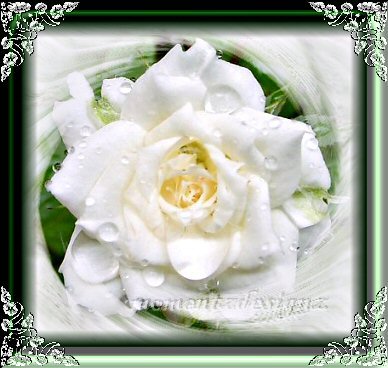
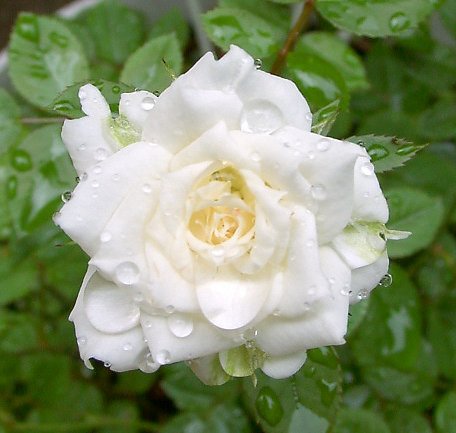
 This tutorial was written in V8 This tutorial was written by me and is ©momentzdesignz Any other tutorial that looks similar is purely coincidental and no infringement of any other artist is intended. This is a frame made after masking our image. What you need for this tutorial: PSP 8 Mask #182 - PSP 8 Plugin - CPK Designs - download here An image of choice or you can use mine below. 
1 – Open your image and duplicate
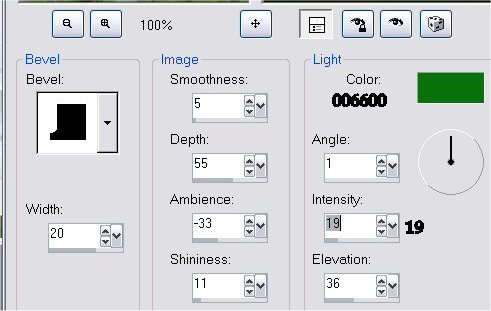
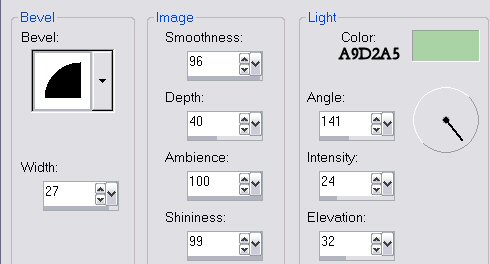
2 - Close the original image as we don't need it anymore 3 - Go to: Layers > Load/Save Mask > Load Mask from disk and choose #182 Check - source luminance, fit to canvas, hide all mask Click ok. 4 - Now on the mask layer, go to: Layers > Delete and answer yes to merge layers 5 - Layers > Merge > Merge Group 6 - Add a new layer 7 - Layers > Arrange > Send to the Bottom 8 - Choose a very light complimentary colour to your image, as your background colour 9 - Flood fill layer 2 with your chosen colour 10 - Layers > Merge Visible 11 - Selections > Select All 12 - Selections > Modify > Contract by 25 13 - Selections > Invert 14 - Effects > 3D Effects > Outer Bevel - see screen shot below  15 - Keep selected 16 - Effects > 3D Effects > Inner Bevel - see screen shot below  17 - Keep Selected 18 - Effects > Plugins > CPK Designs > Shadow Bevel Settings: 44, 31 and 31 19 - Add decorative corners if you wish. If you have any questions, please feel free to email me. ©momentzdesignz 1999 Below is her lovely result.  Back to Tutorials |