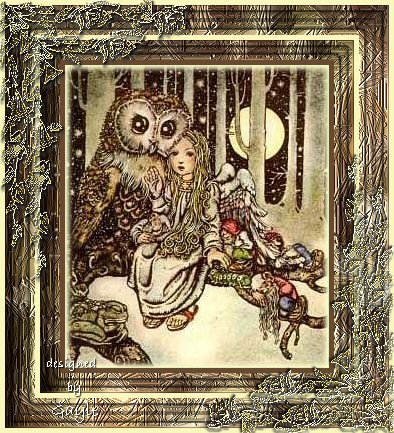
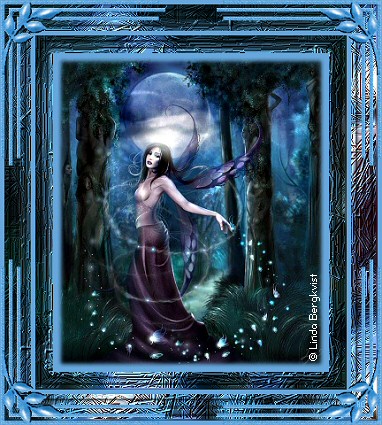
 with no outside filters. *S* This tutorial was written in V8 Although simple, this is for the intermediate/advanced PSP user as I have no screen shots on this frame. But I also found out that trying is the best way to learn. *S* This tutorial was written by me and is ©momentzdesignz Any other tutorial that looks similar is purely coincidental and no infringement of any other artist is intended. For this tutorial you will need the following: PSP 8 An image of your choice.
1 - Open your image in psp and resize to approx. 265x300
2 - Duplicate image 3 - Foreground - find pattern and set from your duplicated image 4 - Background - light co-ordinating colour from image 5 - Add border - 5 px 6 - Highlight with magic wand 7 - Flood fill with background colour 8 - Selections > invert 9 - Effects > 3D effects > Cutout Colour - use your light background colour Settings H & V 4, Opacity 100 and Blur 7 Repeat except changing the V & H to -4 10 - Selections > Select none 11 - Add border - 20 px 12 - Flood fill with foreground pattern NOTE: Keep Selected 13. Effects > Texture Effects > Straw Wall Blur 40, Density 15, Length 14, Width 1, Transparency 0, Colour #555555 [this is your chosen colour], Angle 100 NOTE: Keep Selected 14 - Effects > 3D Effects > Inner Bevel Preset #4, Width 20, smoothness 0, depth 12, ambience -21, shininess 0, Colour - white, Angle 315, Intensity 42 and Elevation 90 15 - Selections > Select none 16 - Repeat steps 5, 6 and 7 17 - Selections > Select none 18 - Add border - 30 px 19 - Repeat steps 12 to 15 20 - Selections > Select none 21 - To finish off: Repeat steps 5, 6 and 7 NOTE: I have added decorative corners to my frame. Sometimes they look settled with none and other frames need dressing up a bit if you wish. I have added only 2 to this framed image so as not to make it look cluttered *S*. Following are the steps to add only 2 corners: 1 - open your corner tube and right click on Copy 2 - paste as a new layer on your framed image 3 - position the corner where ever you think looks best NOTE: I used a drop shadow on mine but this is also your choice. 4 - on the layer palette, duplicate this image 5 - click on the duplicated image layer and go to Image > Mirror and then Image > Flip Save as a .jpg If you have any questions, please feel free to email me. ©momentzdesignz 1999 Below is her lovely result.  Back to Tutorials |